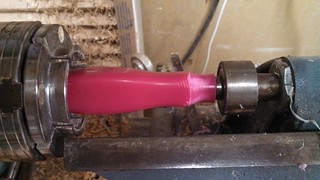
I started by putting the piece on my lathe and using a bowl gouge turning off the plastic handle.
After that I have a kit with a metal piece that needs to be epoxied in after you turn the handle.
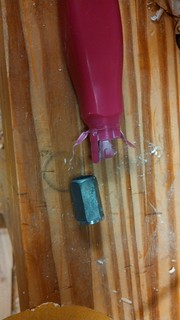

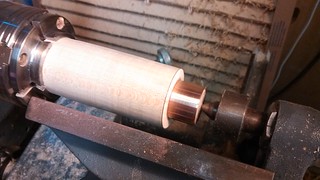
I drilled in two steps first drilling a whole to accomadate the length of the screwdriver parts. Then a larger hole just deep enough to accomadate the little metal part. The rest is turned like any other tool handle turning a step to incorporate a ferrel.
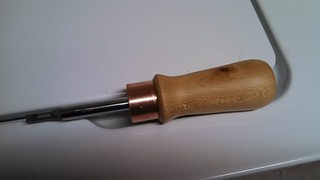
I used boiled linseed oil to finish the screwdriver.
capneddie screwdriver without a kit

No comments:
Post a Comment